Let me just preface this with saying that making a tutorial is a LOT of work. I should probably have written this as a pattern. Thank you to all of you who continue to make tutorials and give us so many wonderful ideas to inspire our creativity.
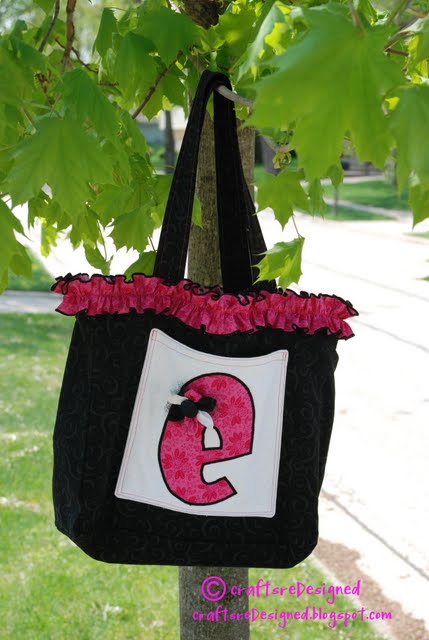
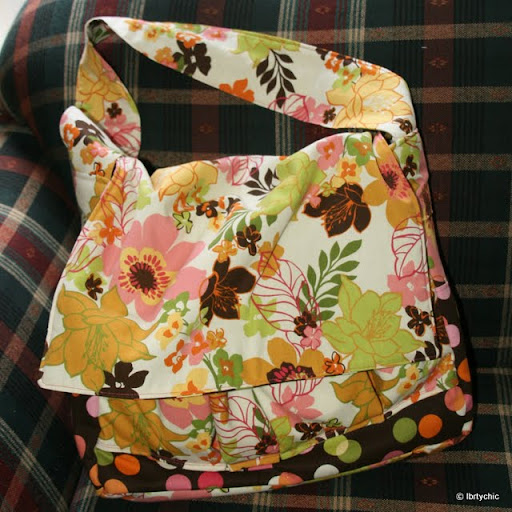
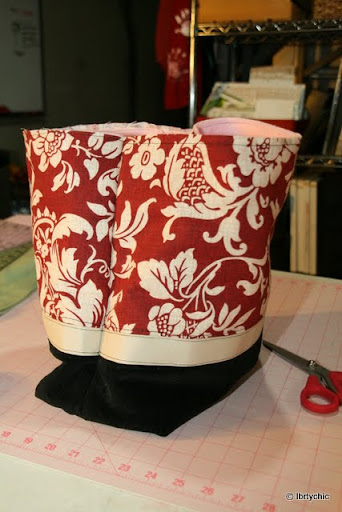
This is a tutorial for a handbag lined with LOTS of pockets inside. I have made this same version in several different heights and widths. I took pictures with the taller version, and I will give you the changes at the end to make it the same size
as my red bag.
Cut fabric as follows:
OUTSIDE:
CUT 2 - 7" x 17" bottom piece {dark fabrics, twill, denim, courdaroy}
CUT 2 - 2" x 17" middle trim piece {twill, cotton, add interfacing if not as sturdy as other fabric}
CUT 2 - 2" x 17" interfacing {Optional}
CUT 2 - 8" x 17" top piece {PATTERN fabric, twill, home decor fabrics}
INSIDE:
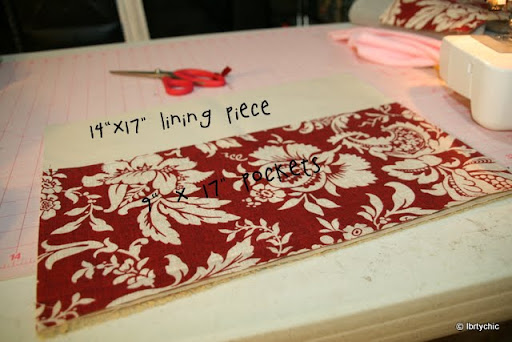
CUT 2 - 14" x 17" Lining {twill, cotton, bottom weight}
CUT 2 - 9" x 17" Pocket lining {I use the same as the lining fabric}
CUT 2 - 9" x 17" Pocket {I use same Pattern fabric from outside of bag}
HANDLES:
CUT 2 - 6" x 25" - {I use same fabric as the bottom piece, i.e. denim, twill, dark fabric}
CUT 2 - 3" x 24" - Fleece {any color as long as it doesn't show through}
PADDING:
CUT 2 - 15" x 17" - For padding bag {any color, great for extra scraps}
Ok, now that you have everything cut, get yourself a diet coke and get ready to sew.
ALL seams are 1/2" seam allowance.
Let's start with the
OUTSIDE
Iron interfacing to 2" trim piece {this is optional, but gives it some stability especially if your trim piece is not as sturdy as the other two pieces}. Sew trim to top pattern fabric, right sides together.

Sew bottom piece to the other side of the 2" trim piece, right sides together.

Topstitch on both sides of trim piece, I turn my seams into the interfacing, so it adds the extra bulk under the trim piece.

Repeat for other side.
Now take each side and add fleece for padding. I like to topstitch again along the edge of the trim {not directly on the trim piece, on either side of it} to help hold the fleece in place. I also stitch it onto the entire piece with a 1/4" seam allowance, just to keep in place until I sew it together.

Now pin two outside pieces right sides together. Make sure to match up the trim on each side so it will be lined up when it's all put together. Sew around 3 sides, leaving one long edge open for top of bag.

This part used to make me VERY nervous, but it will work I promise. Cut a 3" square out of the bottom two corners. This will make the boxed bottom for your bag.

Now fold box cuts into each other matching up the side seam with the bottom seam. Sew seam together making a 6" bottom for your bag.

Turn bag right side out and the OUTSIDE IS FINISHED!!!!! {you might want to take a break now, and get a snack!}
 INSIDE LINING AND POCKETS
Start with one pocket lining and one pocket outside {9" tall pieces}. Sew right sides together to make the top edge of the pockets. Open seams and press. Topstitch across the top edge. Repeat for other side.

Now take the lining piece {right side up} and lay the pockets on top. Line up across the bottom edge.
Measure up 3" from the bottom and sew a straight line from side to side. {I mark it with a disappearing ink pen to make sure it's straight} This will make the bottom of the pockets and will line up with the box cut we did on the outside.

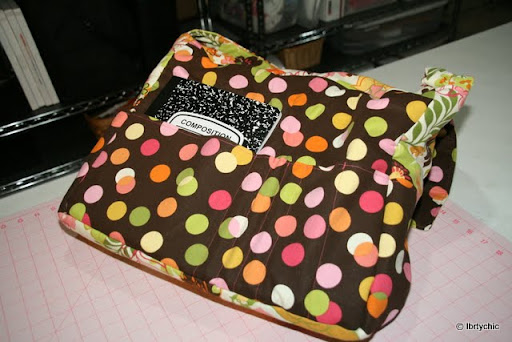
Now decide where you want your pockets. I like to do a 3" one on each end because they will line up nicely with the corners of your bag, but sometimes this will make your other pockets too small. Measure out and mark all your pockets. Keep in mind the pockets on the opposite side, I like to make the larger pockets on opposite ends of the bag so they don't hit each other inside the bag. {hope that makes sense} I took a picture of the back side so you can see the pocket lines. Make sure you backstitch a couple times at the top and bottom of the pockets to reinforce them.

Lay both lining pieces {right sides together} and line up the pockets. Sew around 3 sides leaving the top open. Now you will do the same 3" box cut. Make sure it's UNDER the pocket line. Cut box cut. Line up seams and sew together.

Now the
INSIDE IS FINISHED!!!!! {Wahoo!, do you need another snack, or maybe a break? Don't worry, I'll be here waiting!}
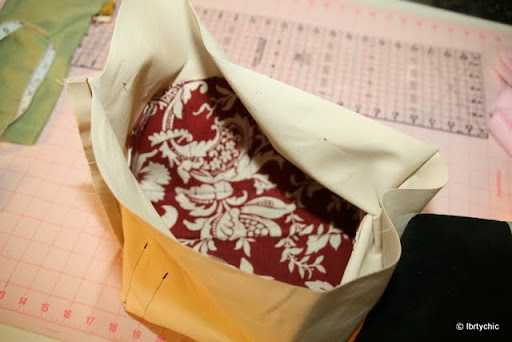
Now put the lining on the OUTSIDE of the bag. Pull the lining all the way to the top. The lining should be 1" shorter than the outside, this will make the inside lay flat and not bunch inside the bag. Make sure you lave a large enough space to turn, about 5-6" between the seams. {I mark my space with double pins so I don't forget}
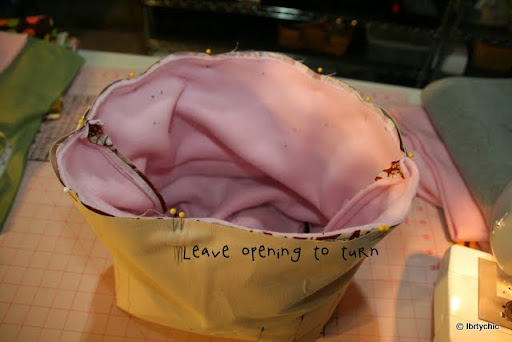
Sew with 1/2" seam allowance around top edge. Turn and pin top edge closed. I like to pin all the way around to help keep it tight while I topstitch it. Topstitch around top edge.

Now your ENTIRE BAG IS FINISHED!!!!!! {Let's add the handles and your done!}
HANDLES
Start with 6" piece and lay fleece right in the center of the wrong side. Fold up ends 1/2" to finish ends.

while keeping the ends up tight, fold the sides up like a taco. Make sure they are nice and tight and even with the fleece. This will make your handles even all the way down. If you are using denim or twill you can iron this step to make it line up and even.

Now fold up your handle right in the middle so all the raw edges are on the inside and pin all the way down. Sew with a 1/4" seam allowance around all 4 sides {starting with the open side}.

Now it's time to sew the handles to the bag....and your done. Find the middle of your bag. Mark with a pin. Measure the same distance from each side of the pin. Mine are 3" from the pin {so 6" apart from each other}. Sew handles on with a box pattern. Make a large square as close to the other seams as possible. Then sew an X across the middle. This will reinforce your handles.
 AND YOU ARE FINISHED!!!!
 Go fill up all your pockets and take a shopping trip!

VARIATION: If you want your bag smaller.....deduct the size from the top pattern piece. My original one was 16" wide {instead of 17"} and it is only 12" tall. I basically just take 3" off the top pattern piece. You can leave the pockets the same size, but they come up a lot higher inside the bag. Now that I have made this one, I really like the taller one better. It stays more closed at the top and less avaliable to other people.
Have fun! Let me know if you have any questions or if anything is unclear!